
How To: DIY Calligraphy on a Pumpkin
- bethshunt
- Oct 2, 2017
- 2 min read

Happy October!
Fall is my absolute favorite season, and nothing says fall like putting out pumpkins {even if it's 90 degrees when you shop for them here in Mississippi! please send fall weather here asap.} As someone who likes to write on anything, I love the look of hand lettering on pumpkins. It's a fun, easy and no-mess way to decorate and personalize your pumpkins. Plus, it preserves well and typically lasts me the entire month of October into November. Here's how you do it:
1. Get your supplies - Obviously you'll need some pumpkins. I look for pumpkins with at least one side that is relatively smooth for writing on. You can write in ridges but smoothness will be your friend here. Any color pumpkin will do! Some years I have gotten all orange but this year I'm loving the white, blue-green and pale orange pumpkins that were at our local farmer's market here in Oxford.
As for pens, any paint pen will do, or you could even use a plain black Sharpie, but here are my faves:
Uchida of America DecoColor Paint Pen in Gold - I also have this one in copper and LOVE it.
Molotow Acrylic Paint Marker - I really like Molotow white markers and their golds are pretty too - definitely more on the greenish side rather than a yellow gold to me, but I think they would look nice on pumpkins of any color.
Sharpie Oil-Based Paint Markers - I love myself some Sharpies. Buy these and you'll find so many uses for them if you love writing on things! For mini pumpkins that served as place cards at my workshop this past weekend, I used the Extra Fine Sharpie Paint Marker in rose copper and it was so pretty.
Optional: I sprayed my two white pumpkins with a clear fixative spray because they weren't under a porch or any covering. I tried to remember to bring them in when it rained, but the few times they were left out in the rain the paint pen held up, so I guess the fixative worked!
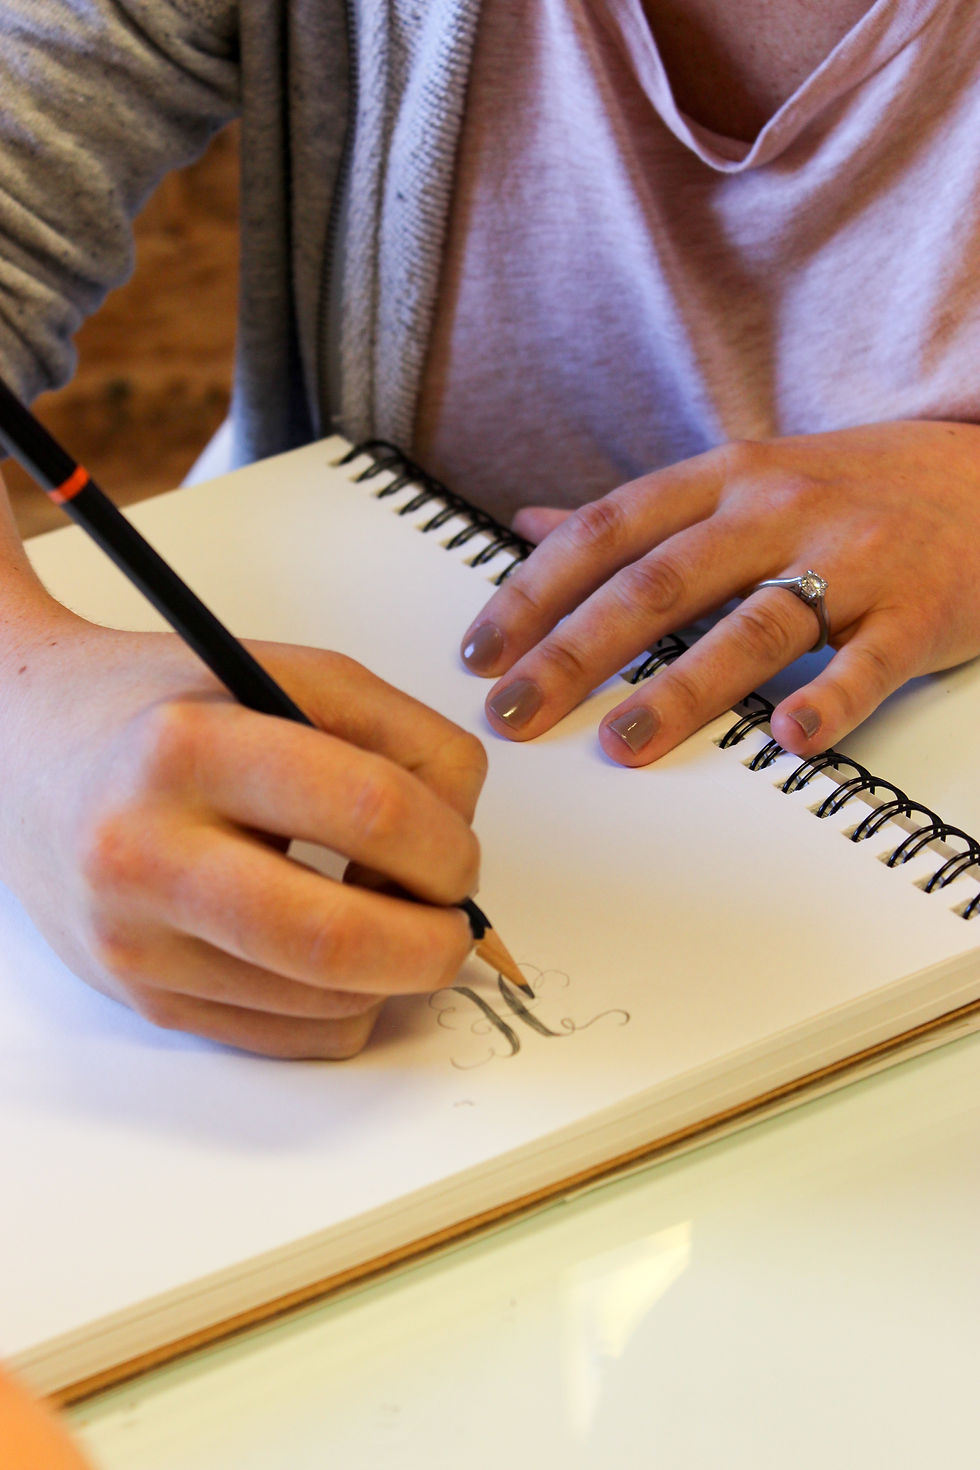

2. Sketch out your design - I'll usually sketch out my design first in good, old-fashioned pencil. Just think about the size of your pumpkin and what will fit and look good on the rounded surface. Shorter words or just single letters work best.

3. Start writing - When working with smaller or medium sized pumpkins, I like sit at a table or large desk and hold the pumpkin in my non-dominant hand, tilting it toward me while I write. For large pumpkins I find it hard to hold them so I set them right in front of me on a table or lay them down if they don't roll.
When writing I make smaller strokes to form the letters rather than making larger strokes.


4. Thicken your downstrokes - Using what I call "fake calligraphy" I go back and thicken downward strokes by adding a second line next to the line I originally wrote. This gives a calligraphy look with varying thick and thin line widths within your lettering.

5. Optional spray your pumpkin with a sealant
6. Display and enjoy!

Happy fall and enjoy this beautiful season!


Comments